

In this article we will connect our Ubuntu server to Azure, yes you read that right !
Connection on Azure:
We have an server Ubuntu,
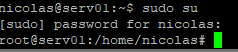
We need upgrade account with sudo
Ok, now we need go on azure portal :
You need Select « Servers » in Azure Arc :
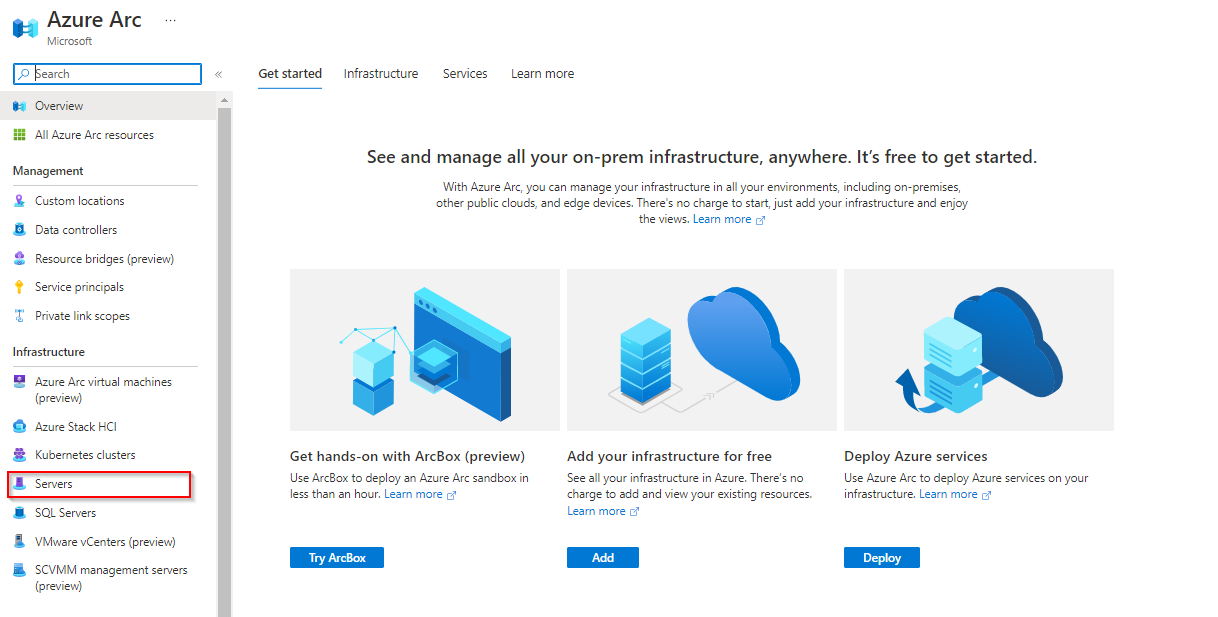
Click on « add »:

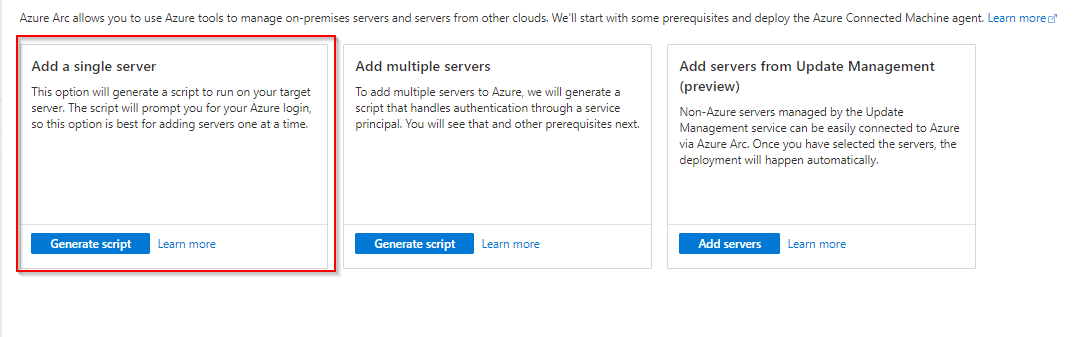
Just for my example we need just select the first propositon, « add a Single Server »:
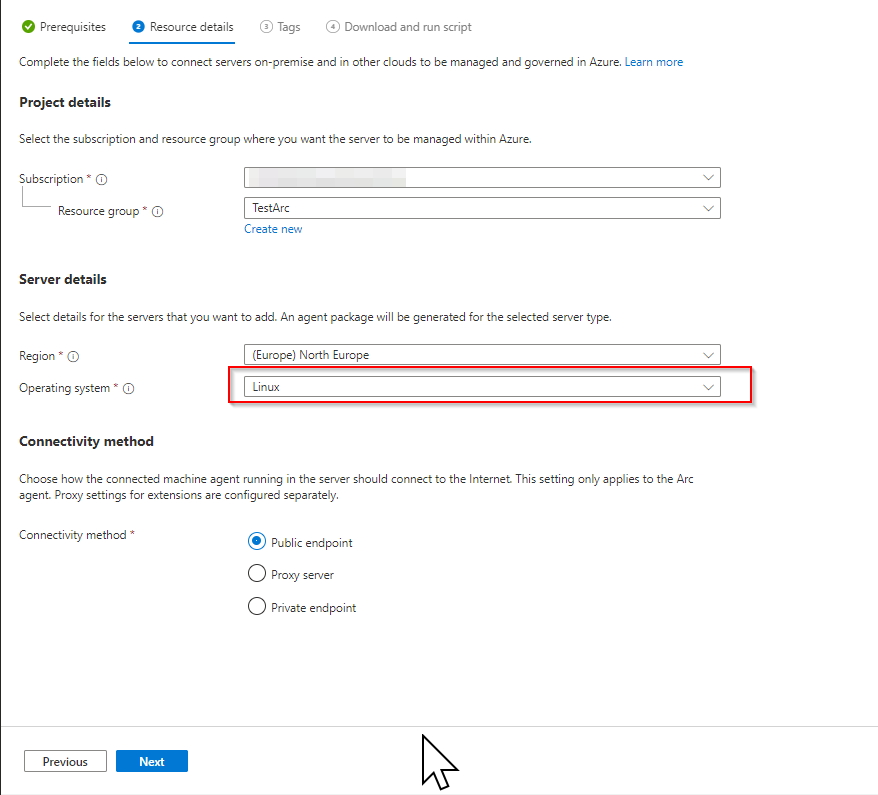
We need choose the Subscription / Resource Group/ Region and the good Operating System, and you can click on the « next »:
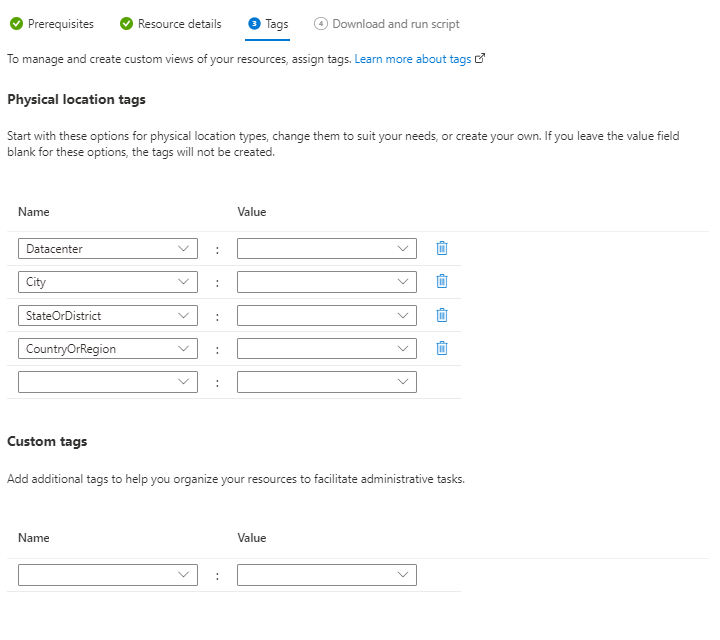
We can put the tags and select next:
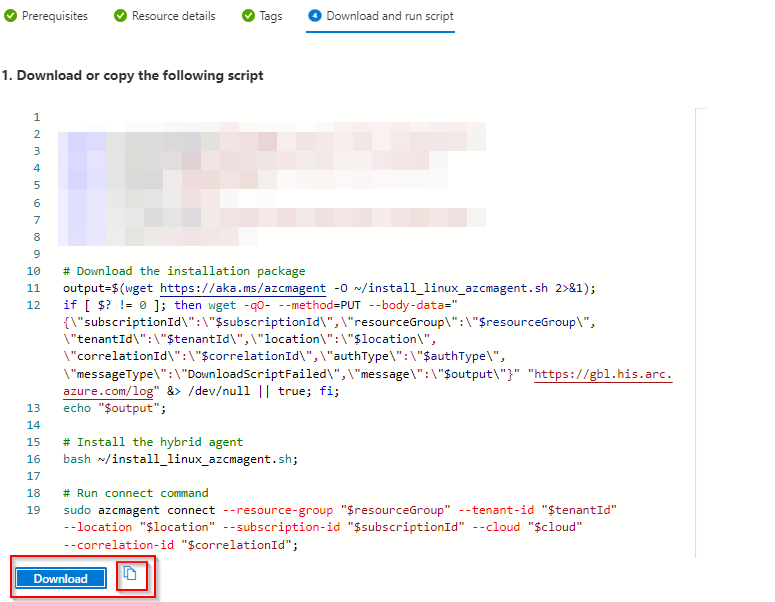
The last step, we can found our script for the connection in azure, you can copy past or just download the script.
In my case i just copy past the code:
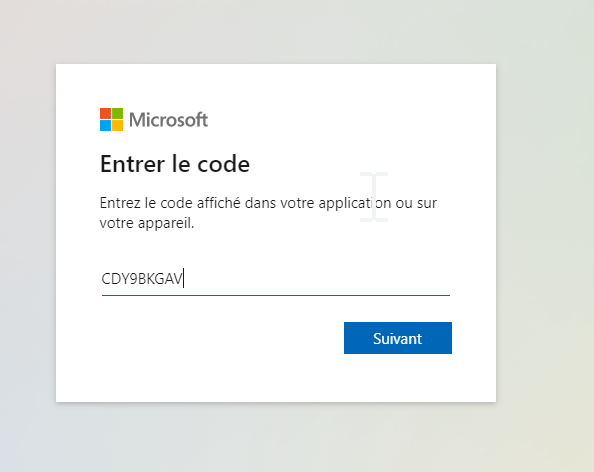
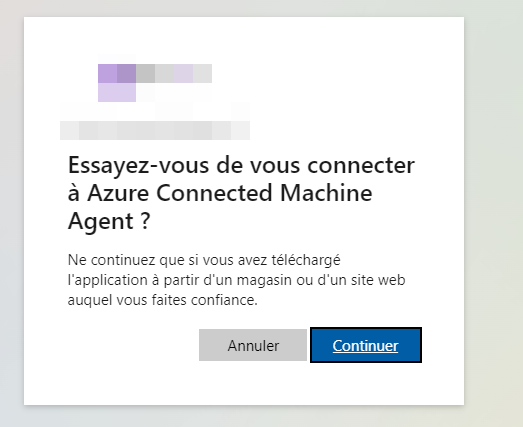
We can see the code, necessary to connect to Azure, we must go to the page « https://microsoft.com/devicelogin » :

Put the code:
When it’s ok you need select the good account:
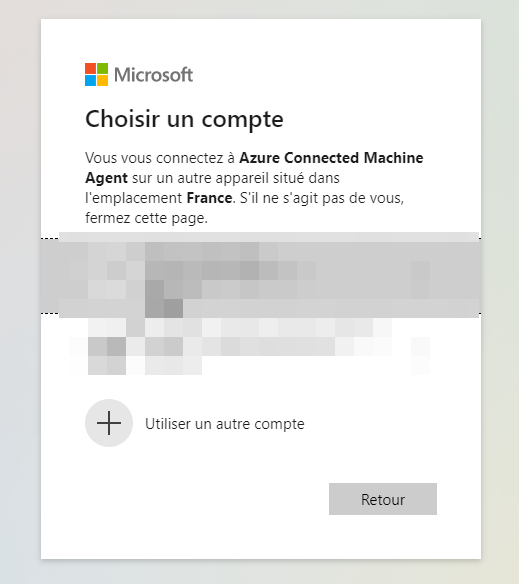
Click on « Next »:
And it’s ok, when the script is finish, if we go back in Azure, we can found the SERV01 – LINUX

Conclusion
it’s done, you know now how connect you server Linux in Azure !
Nicolas VACCARO
Passionnée par l'environnement Cloud, je propose des articles qui pourront aider débutant comme expert.


No Comment